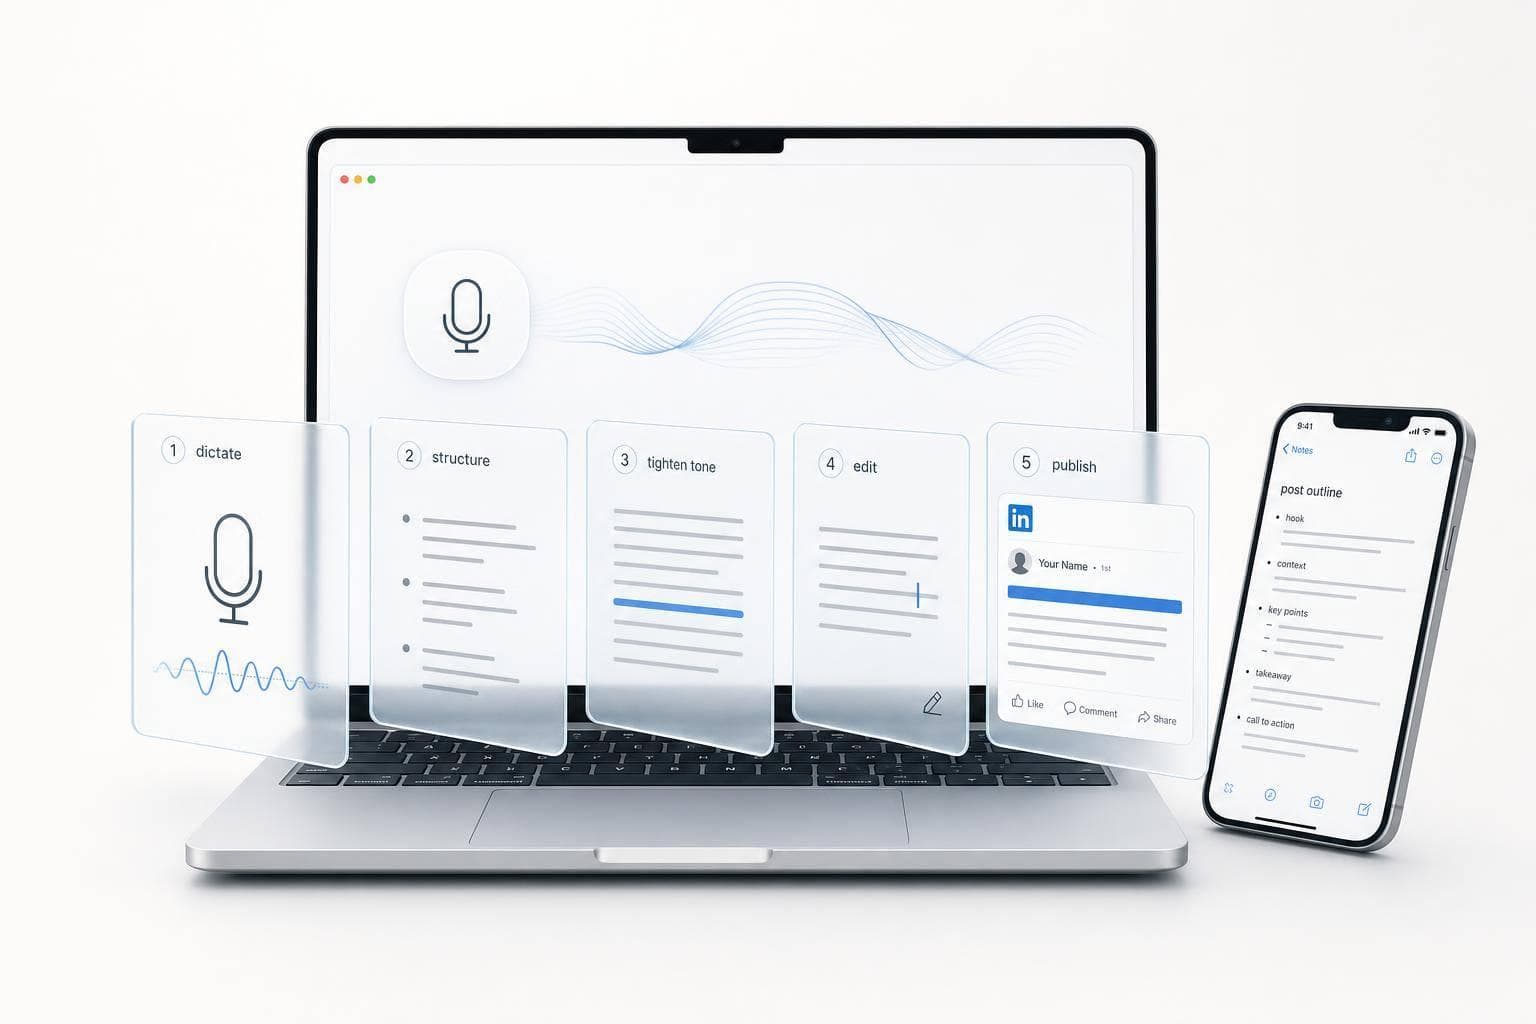
Mac Voice Notes to LinkedIn Posts in 5 Steps
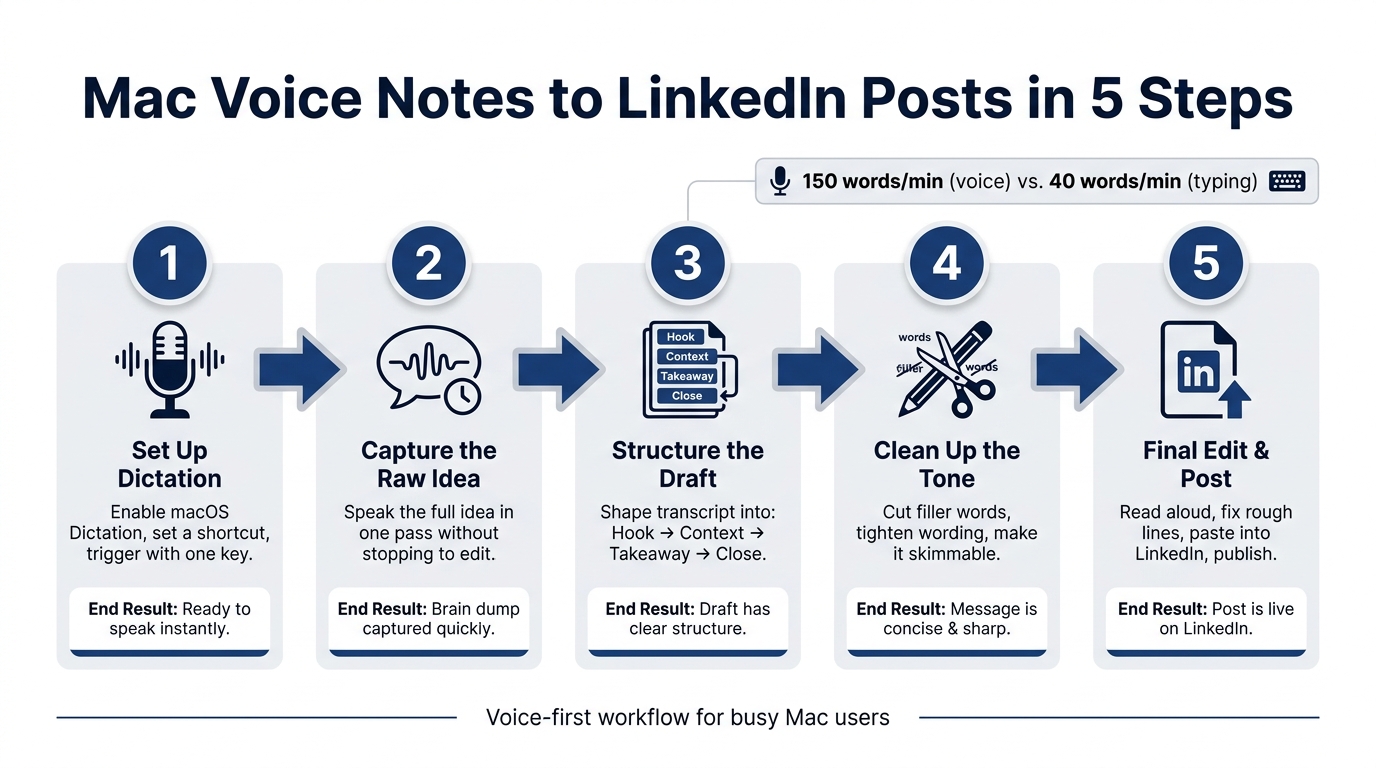
You can turn a spoken Mac note into a LinkedIn post in five moves: voice input, rough draft, structure, tone cleanup, and final edit. The point is simple: when I speak, I can get ideas down faster than typing - about 150 words per minute vs. 40. That gap is often the difference between posting a strong idea and losing it.
Here’s the full article in plain terms:
- Step 1: Turn on macOS Dictation and set an easy shortcut.
- Step 2: Say the full idea in one pass instead of stopping to fix each line.
- Step 3: shape the transcript into a post with a hook, context, takeaway, and close.
- Step 4: cut filler, tighten the tone, and make it easy to scan.
- Step 5: read it out loud, fix rough lines, paste into LinkedIn, and post.
What I like about this system is that it removes the blank-page problem. Instead of starting with writing, I start with talking. That makes posting easier during a packed workday, especially after meetings or while an idea is still clear.
A few points stand out:
- Dictation works in any text field on Mac
- Short paragraphs help LinkedIn readers scan line by line
- Reading the post out loud before posting catches weak sentences
- Tools like OneKey can help turn spoken text into a cleaner draft across apps
| Step | What I do | End result |
|---|---|---|
| 1 | Turn on Dictation and set shortcut | I can start speaking fast |
| 2 | Record the idea in one go | I get a rough draft |
| 3 | Rework the draft into post flow | The post is easy to follow |
| 4 | Remove filler and tighten wording | The tone feels direct |
| 5 | Do a last read, paste, and post | The draft is ready for LinkedIn |
If I had to sum it up in one line: this is a simple voice-to-post workflow for busy Mac users who have ideas but don’t want to start from a blank screen.
Mac Voice Notes to LinkedIn Posts: 5-Step Workflow
Step 1: Set up Mac voice input for fast rough drafts
Turn on Dictation in macOS and set a shortcut
Open System Settings > Keyboard > Dictation, switch it on, and set the language to English (United States). If you write for a U.S. LinkedIn audience, that setting helps recognition match how you talk.
Then choose a shortcut you can hit without looking. Common options include the Microphone key, the Function (Fn) key, or a custom keyboard shortcut. Once that shortcut is second nature, you can start talking almost instantly.
Choose a capture setup that fits your workday
macOS Dictation works in any text field. That means you can open a plain text draft, an email, or any other writing space and get the idea down before it slips away. Use the microphone that gives you the cleanest transcription.
Between meetings, while walking, or right after a call, open a draft, trigger dictation, and say the idea while it’s still clear in your head.
Use OneKey for a voice-first Mac workflow
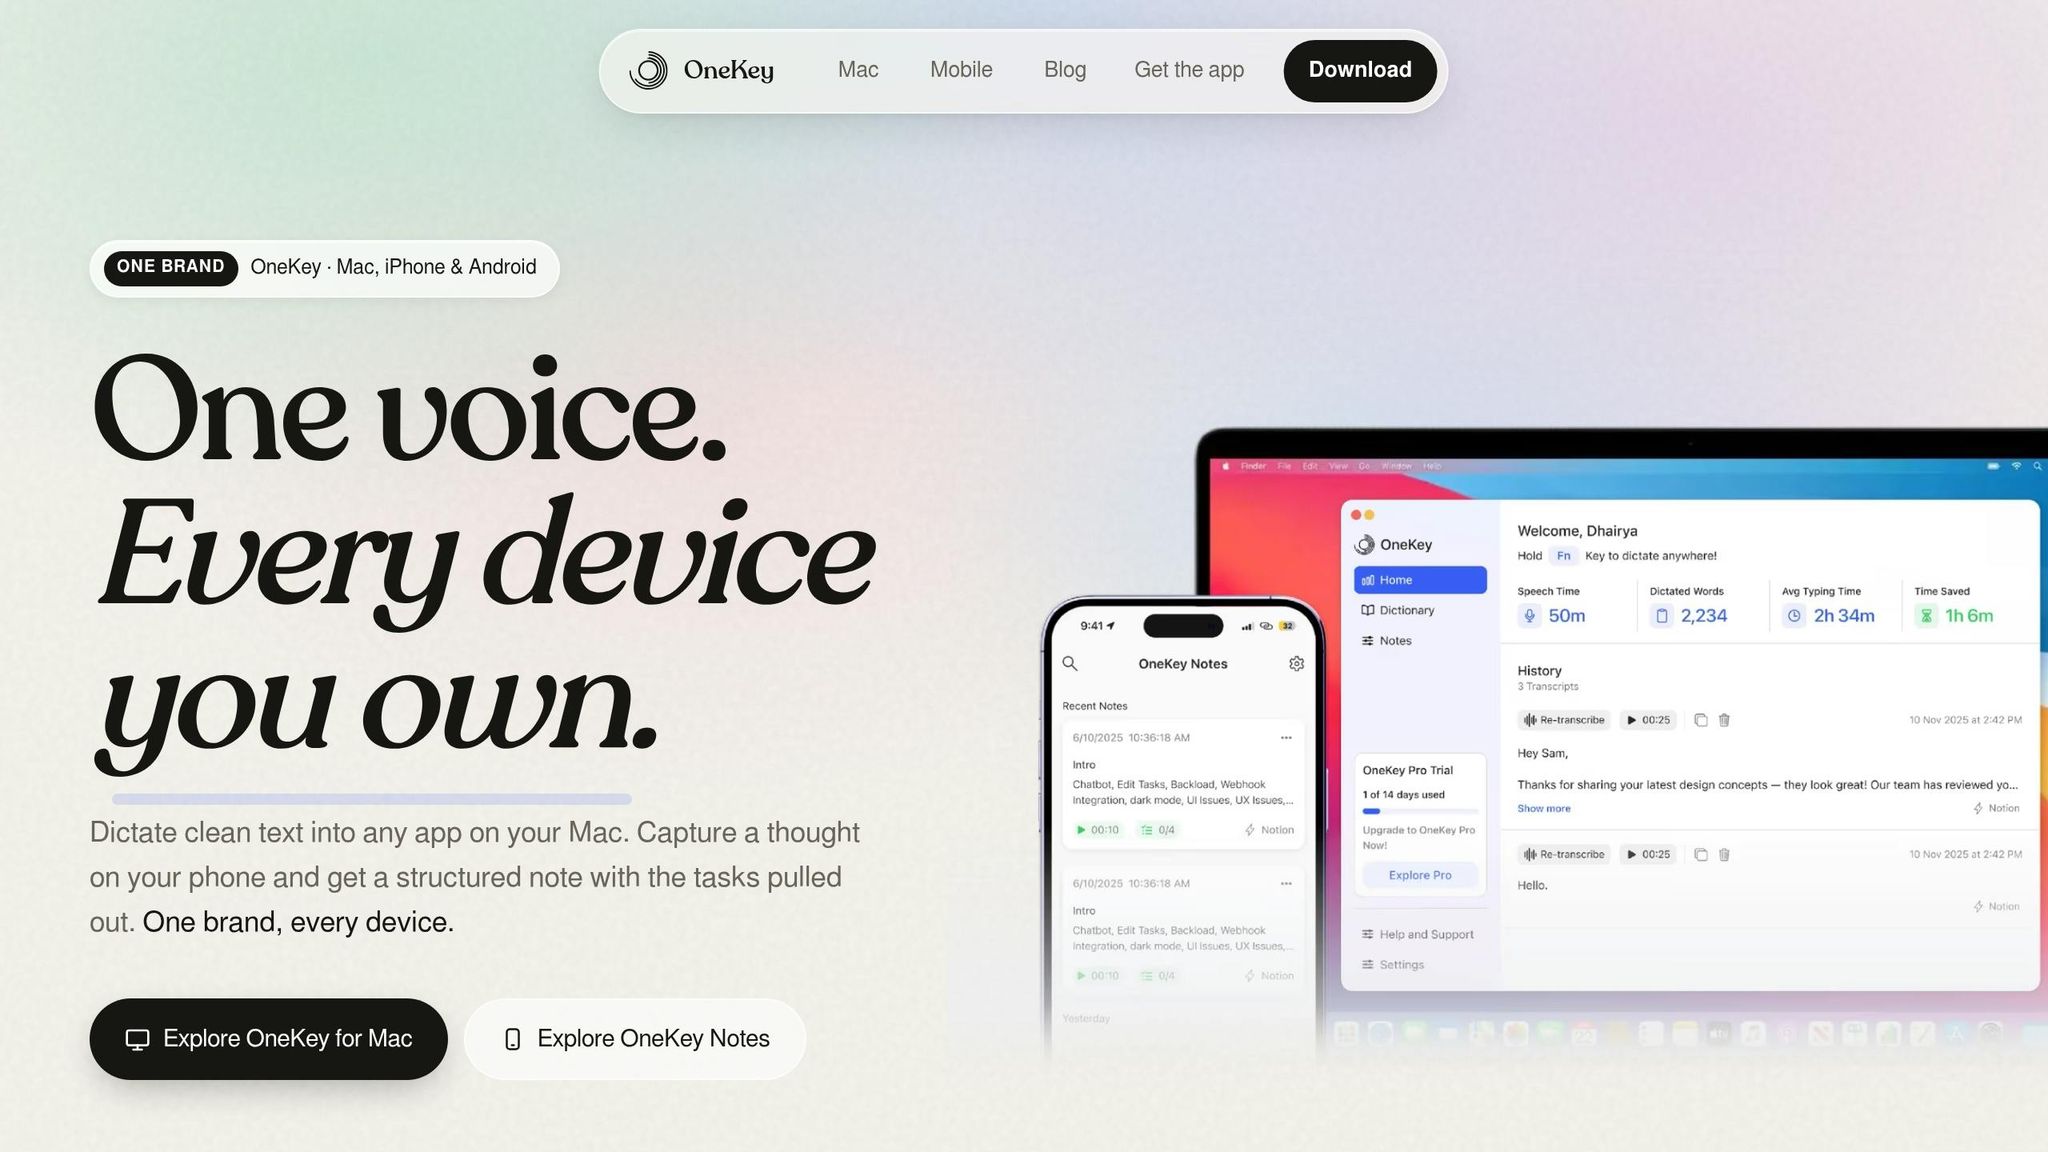
If you want a voice-first setup on Mac, OneKey lets you press a key, speak across any app, and turn rough thoughts into structured text system-wide. That rough capture then becomes the starting point for the structure pass.
sbb-itb-b6fe06e
Step 2 and Step 3: Capture the raw idea, then shape it into a LinkedIn structure
Speak the draft in one pass
Dictate the idea straight through.
Don't stop to fix wording as you go. The point here is to get the idea out while it's still clear in your head. If it helps, say things like "new paragraph" or "comma" so the transcript stays readable.
Run a structure pass for LinkedIn-ready structure
Once you have the raw transcript from your Mac voice step, turn it into something people can scan in seconds.
Start by pulling the strongest hook line to the top. That's the line that makes someone stop and pay attention.
Then clean up the dense transcript. Big dictated blocks are hard to read on screen, so split them into short paragraphs. Cut repeated phrases, keep the strongest version of each point, and shape the post into a simple flow: hook, context, takeaway, close.
Voice-first drafting vs. typing
Voice-first drafting keeps more of the original idea intact.
Typing from scratch tends to slow the first draft down. And oddly enough, it often creates more cleanup later, not less.
Next, trim the tone so the post sounds like you instead of a transcript.
Step 4 and Step 5: Clean up the tone, finish the edit, and post on LinkedIn
Do a tone cleanup pass for U.S. LinkedIn readers
Once the structure is set, it’s time to tighten the writing. A spoken draft can sound fine out loud and still feel loose on LinkedIn.
Start with the draft from Step 3 and strip out spoken filler. Cut phrases like “kind of,” “basically,” and “I mean.” Swap vague wording for direct statements. Keep the lines that move the post forward, and trim the ones that don’t. Write in plain, direct U.S. English, and use U.S. formatting the whole way through.
Now read it like a LinkedIn user would: fast, skimmable, and line by line. If you use OneKey, Enhanced mode can remove filler and smooth the flow. After that, do a short manual pass yourself.
Finish the final edit before posting
Before you paste anything into LinkedIn, read the full post out loud one more time. If you trip over a sentence, rewrite it.
Check the hook and the full length too. The opening should make people stop scrolling. The ending should land on a clear point or a direct question.
Publish from Mac and save the workflow for reuse
When the draft reads clean, move it into LinkedIn. Paste it in, check how the layout looks, and publish. Then save the working note and the final post in the same place so the next post is easier to start.
Conclusion: A five-step system to stop losing good ideas
Good ideas tend to show up at inconvenient times - between meetings, during a walk, or in the middle of a short break. And they disappear just as fast. For founders, the problem usually isn't a lack of ideas. It's how fast you can catch them before they're gone. That's why this workflow works as a simple loop: capture, structure, tone, edit, publish. It doesn't begin with staring at a blank page.
A voice-first setup on Mac keeps that loop moving. A voice-first Mac workflow like OneKey makes capture fast enough to keep up with your train of thought. Once that system is in place, a LinkedIn post turns into a quick voice-to-publish process. What you end up with is a LinkedIn post built from a spoken note - not from a blank screen.
FAQs
How long should a voice-drafted LinkedIn post be?
It depends on your goal. Instead of chasing a strict word count, focus on clarity and impact.
Start with a full brain dump. Get the idea out first. Then shape it into a polished post.
The aim is simple: keep your core idea, tone, and intent intact while making the piece easier to read.
What should I do if Mac Dictation makes mistakes?
If Mac Dictation keeps getting things wrong, it may be time to switch to a voice-first setup with OneKey. Plain dictation often dumps out rough text, and that can get messy fast, especially when your thoughts jump around or you use filler words as you speak.
OneKey lets you talk the way you normally would. Then it cleans up the phrasing, smooths out the flow, and turns scattered ideas into a structured draft. That means less time spent fixing awkward wording by hand and more time moving your work forward.
When is the best time to capture post ideas by voice?
Capture ideas the moment they hit you, especially when you’re moving around or deep in solo work.
Thoughts often come faster than your fingers can type. So when you say them out loud right away, you’re less likely to lose them. If you’re walking, between meetings, or just thinking out loud, OneKey helps you catch those raw thoughts on the spot without breaking your flow.